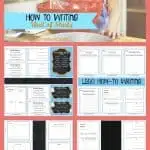
This how-to writing unit of study is geared towards primary classrooms. This includes mini-lessons, anchor charts, blank books and more.
Use these lessons and ideas focused on How-To Writing to help your students try a something that may be new for them.
This unit might be used to address the standards for explanatory writing in first, second or third grade, but might also serve as an introduction to sequential narrative writing.
The unit is designed to be used in a workshop setting.
You can download the complete How-To Writing Unit of Study by clicking on the bold, blue words at the bottom of this post.
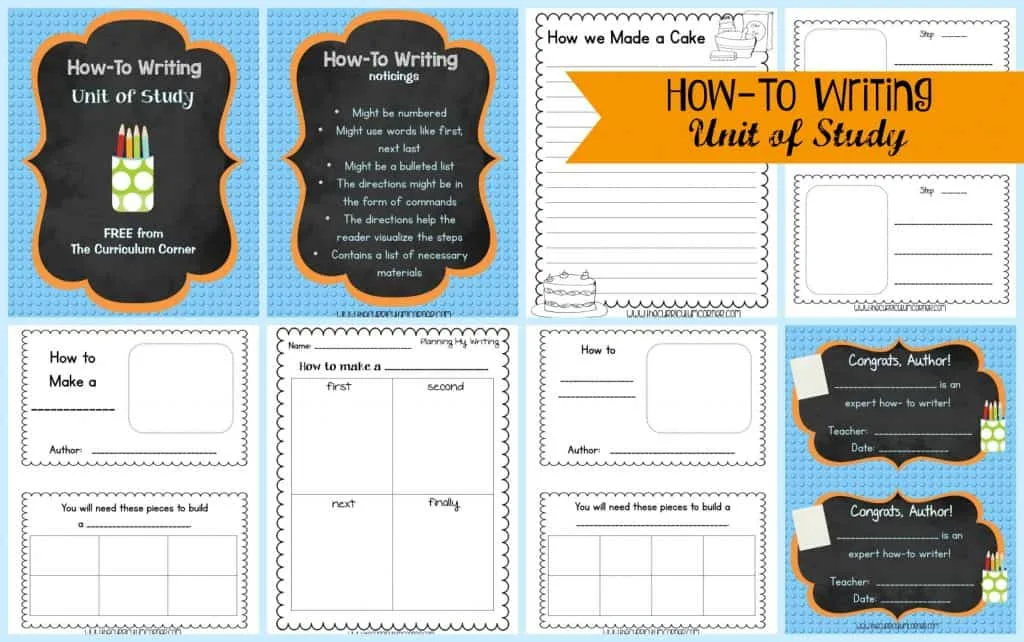
Lesson 1: Noticings
- For this initial lesson you will want to first think about your purpose for teaching the unit.
- If your focus will lean towards explanatory writing, you can gather food items that have directions for making something (ex: cake mixes, mac-n-cheese, etc) as well as written paper directions for putting items together (Lego sets, pieces of furniture, toys, etc).
- If your focus will be on narratives that have an obvious sequential kind of story line you may want to use books such as the “How Do Dinosaurs…” series by Jane Yolen & Mark Teague or Jean Reagan’s books about babysitting grandparents. (We have provided some Amazon links with these and other suggestions at the bottom of this post.)
- Give pairs or small groups of students time with these books/texts to discuss what they notice about them. Then gather your students to talk about their “noticings”. We have provided a Noticings anchor chart with some ideas to lead your discussion, but you may also want to use our blank chart to record student ideas too.
Lesson 2: Demonstration
- One way to get your students to start thinking about the steps for how to do or make something is to actually do a demonstration in your classroom.
- If you have an oven available to you in your building, bring in the materials and ingredients to make a boxed cake mix. First have the students guess what it is they think you will be doing with the items you brought in.
- Next, give each of your students the organizer called “How to Bake a Cake”. (We have provided one set of pages with numbers and one without, as well as an extra page of boxes in case you want your students to be more detailed in writing the steps.) Tell them that they will be writing down what they see you doing, BUT you will not be providing any verbal hints. You will be doing your demonstration in silence. Then, begin making the cake in front of them, stopping after each step so that they have time to write down what they saw you do. Once you get to the final step, pouring the cake batter in the pan, you can stop your demonstration and move onto a discussion.
- Gather your students and have them bring their papers. Talk through the steps and have students share what they wrote for each one.
- Discuss the differences in their writing and whether or not it would affect the outcome of the cake. (For example some students might write “add eggs” while others might be more specific and say “add two eggs”). Then when possible, get the cake in the oven and plan to enjoy it with the class later in the day.
*For those who don’t have access to an oven, we have provided the organizer associated with this lesson in blank form so that you can choose the demonstration that suits your situation the best. One suggestion might be how to make homemade lemonade.
Lesson 3: Using Time/Order Words
- You might feel you need to familiarize your students with time/order words to give them some ideas for how-to writing.
- We have provided an anchor chart listing some of these words that you can show your students as you work on some shared writing with your class. Gather students and begin writing your “How We Made a Cake” piece of text.
- We have included two graphic organizers so that you can write the steps together in paragraph (lines only) or number order.
- After you have written your piece together using the anchor chart as a guide for some of the wording, take the time to highlight the time/order words you used in the piece. Display this in your classroom so that students have a visual model of how to use these words in their own how-to writing.
Lesson 4: Using Precise Language
- We want students to understand the importance of precise language as they write their how-to pieces. For this you could gather students and begin asking some “What if…?” questions about how-to writing. You might want to have some actual recipes or directions to reference to give you some ideas. For example for a recipe you might ask the students, “What if the ingredients were not all listed?” or “What if number of eggs to use wasn’t revealed?”
- For a set of directions for Legos you might pose the question “What if the colors of the pieces weren’t shown?” Or for a set of directions for putting together a piece of furniture you might ask “What if the tools you need were in the writing?”
- Lead your students in a discussion about the importance of being very precise as they try to write their explanations. Get them talking about the consequences of not using specific language for readers of how-to writing.
- Then use the Precise Language organizer to model what kinds of words should have been used in the cake piece written earlier. Also use this organizer as a peer or teacher conference tool later in the unit as students are writing their own pieces.
Lesson 5: Lego Mini-Booklets – Modeling “How-To” Writing with Legos (multiple day lesson)
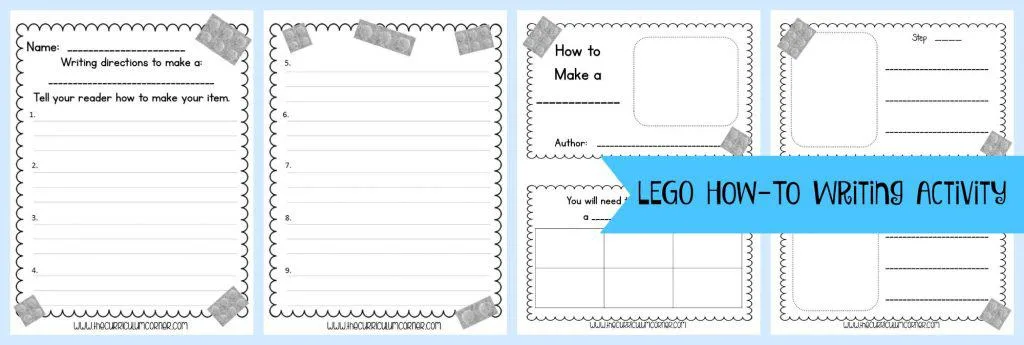
- To add some fun to this unit, we have provided six pages to help you model how-to writing with your students that is Lego-themed. For this lesson you will need to purchase or bring in some boxes of Legos. Then you will plan & build something simple with Lego blocks right in front of your students. This will hopefully be engaging to them, but will also serve as part of your modeling for a Lego how-to booklet that you will write.
- After creating your Lego product, take duplicate blocks and begin recreating your product one step at a time (looking at the original to help with the rebuilding) while writing these steps on the pages provided.
- Then pass out the blocks and let your students do the same process, encouraging them to keep their products simple so that a younger student might be able to read their booklet and build it for themselves.
- You might even think about letting your students work with pairs for this writing. After they have their products built and the steps written, model how to create a Lego mini-booklet…much the same as the kind they would find to go along with a real Lego set!
- For this booklet there are three different versions you can use depending upon how many pieces they used to build their Lego products – six, eight or ten. (If they used more Legos than that you can have several of these pages copied and they can use more than one for their booklets.)
- After you model the cover and “pieces” pages, show your students how to use the “step” pages to draw and write the plan for building the product. When books are finished you could place all the mini-booklets in a baggie and store them with the Legos in your classroom to be used for indoor recess!
Lesson 6: Choosing a Topic & Planning the Steps (multiple day lesson)
- There are countless topics that students can write about when working on a how-to piece. Many will want to use topics that they are interested in or that they consider themselves “experts” about. Gather together and brainstorm fun ideas as a class.
- Make a list with your class so they have a place to start when choosing a topic.
- There are seven different pages included in the resources that you can print and choose from to help your students plan. You will want to model a few of these with your class to show them how they are used and then let them choose the planner that works best for them. Or you might use only one of them to model the process of listing supplies and thinking through steps, but then show the other pages so that your students still have choice in their planning.
- Do whatever will be best for your particular students, but be sure to model the use of the time/order words in your writing. T
- he various planning pages provided require students to draw a picture and/or think of the supplies they will need to list in their how-to writing, as well as the steps it will take to make whatever their topic states. As they narrow their choices and decide on those that work for each of them, have them write their topics on the top of one of the pages. Then you will want to circulate the room and/or conference as they begin their drafts. Be sure to encourage them to reference the Time/Order anchor chart as they write.
Lesson 7: “How To” Mini-Booklets for Additional Practice
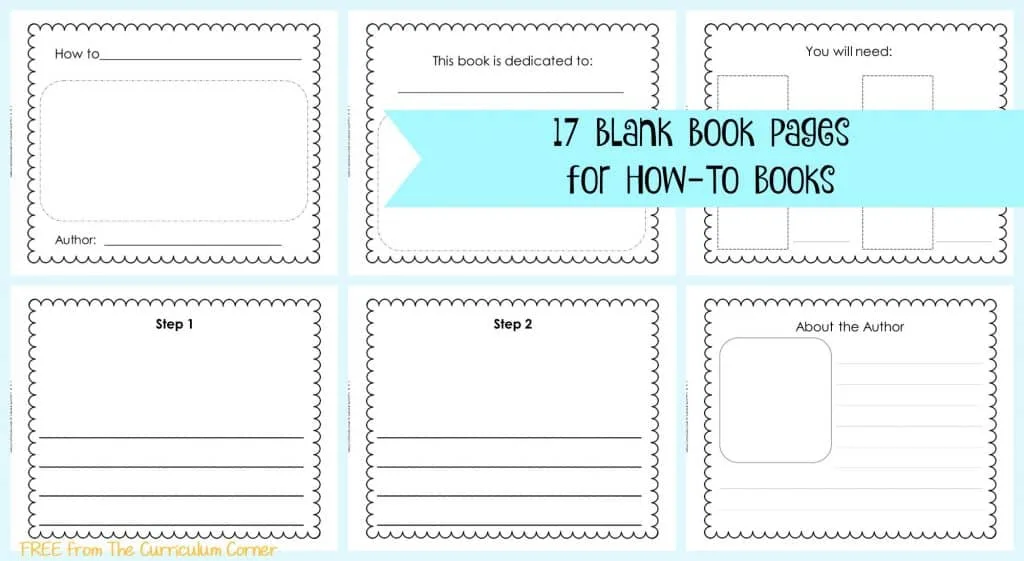
- We have created eight pre-programmed mini-booklets (different topics) that you could use at a literacy center, for small group guided writing instruction/practice or even for homework practice.
- The topics are provided for the students so that they will just need to think through and write the “how-to” steps. You will want to spend a day modeling one of these so that students understand how to write and create a booklet.
- There are also two versions provided without a pre-programmed topic in case you would like to pick something more suited to your students. For the pages of the booklet there are two types provided – one that lists actual steps (students would number these) and one with simple lines to write.
Lesson 8: Revision Checklist
- Students at this age should be engaged in some writing revision for many of their pieces of writing in workshop.
- We have provided a How-To Revision Checklist so that they can begin to change their writing by checking it against a list of criteria.
- You will want to model the use of the checklist against a piece of your own how-to writing in order to show students that they will need to read their writing again and again as they look at the checklist.
- You may also use the checklist to have a one-on-one conferences with students or as the focus of a small group lesson for those who need extra practice or support. (You might also choose to forego the actual checklist and focus on one aspect of the writing that the student might be able to fix.) The key in this is to just know your writers well so that you be sure of what they are ready to accomplish.
Lesson 9: How-To Writing Celebration
We always believe that a writing celebration is the perfect way to show off student writing, build confidence and end a writing unit. We suggest that you invite special adults or older students to come into the classroom. Pass out the Congrats Author! certificates in front of everyone. Then students can partner up with visitors to share their writing. To make it extra special, finish the celebration with getting out the students’ Lego Set Directions and your boxes of Legos. Let your students and guests spend some time using the booklets to create the Lego products.
**Additional blank books and pages have been provided at the end of the download so that students can choose what best suits their “how-to” writing.
You can download the complete, free How-To Writing unit here: Writing Unit of Study
You might also be interested in our How-To Unit of Study geared towards kindergarten students: How-To for Kindergarten.
You will find some of our favorite resources to accompany this unit below. (Contains affiliate links.)

Kristine Soo
Monday 18th of January 2021
Thank you so much for sharing this resource! It looks amazing!
Jill & Cathy
Monday 1st of February 2021
You're welcome!
Caprecia Camper
Tuesday 23rd of October 2018
Hello, thank you for this great resource. Where do I go to download the resources?
Jill & Cathy
Monday 29th of October 2018
Hello Caprecia! The download is toward the very bottom of the post. It says: "You can download the complete, free How-To Writing unit here: Writing Unit of Study". Simply click on the words at the end of that sentence and the resource will download for you. :)
Planning a Dynamic Writing Workshop - The Curriculum Corner 123
Sunday 24th of June 2018
[…] How-To Writing Unit of Study […]